Saturday, January 30, 2016

34. Fiberglass Bonus Material

Check out the fiberglass application!

34. Raise a Glass

Quite a productive morning. We laid the fiberglass then smoothed it with dry paint brushes. Once again we were amazed at how the fiberglass follows every curve as you smooth it. I was particularity concerned about how to wrap the bow and stern but all went flawlessly. About 2 hours later all the epoxy has been applied and squeegeed. Results are amazing. In about 8 hours the excess will be trimmed from the edges and the second coat of epoxy will go on.

Thursday, January 28, 2016

33. Prep for Glass

The top pic shows the results of a light sanding of the epoxy seal coat prior to fiberglass. After vacuuming, it was wiped down with denatured alcohol to make it spic and span. The bottom photo shows the boat ready for glass. Also shows the logo to give you a better context of how/where it was applied to the bow. After this sanding the epoxy surface is ready to accept more epoxy. Amazing how smooth the finished surface is.

Wednesday, January 27, 2016

32. Our Logo

Back when we were dating in 2008, my wife drew this on a chalkboard. It has been our own personal love sign ever since. We have drawn it on heart shaped rocks, greeting cards, even sandy beaches of Ireland, twice. It has now been cemented forever in the bow of the wood duck we are building. It went on beautifully without a fuss. It is printed on rice paper. As the paper soaks up epoxy only the ink area remains visible. We are super tickled. My talented son Emory, graphic artist extraordinaire, created the graphic file for me based off of a picture I sent him of a ceramic heart of our logo, which was hand made by Ang. He nailed it! Check out his work at ocularinvasion.com.

Saturday, January 23, 2016

31. Graphics & Logos

I have been researching how to put graphics and logos on the kayak and I think I have struck gold. I ordered Japanese rice paper from Amazon. Once I found the image I wanted the experiment was on. I taped the thin rice paper to a regular piece of paper and printed on the laser printer. After cutting out the print, epoxy is applied to the wood and the the graphic laid on. As it wets out, anything that is white disappears as it soaks up epoxy, leaving only the colored image. Once it cures in a few hours we will take a look to see how it goes.

Thursday, January 21, 2016

30. Homestretch In Sight

Still a lot of work to do but today is a major milestone. I was very nervous about this step. Final sanding completed it's time to start applying epoxy to the outside. Remember, the inside has been finished for a while. The first coat of epoxy is very thin and serves as a seal coat. I will sand this coat with 220 grit sand paper to make it even smoother. The pics show the difference between raw wood and epoxied wood. WOW! The bottom 2 pics show the port and starboard sides. Look at how the beautiful grain of the woods comes out. There is no way of seeing how fantastic it is the until this step. It's like the kayak has been telling me all along, "Wait for it... wait for it..."  BOOM!

Wednesday, January 20, 2016

29. More Sanding

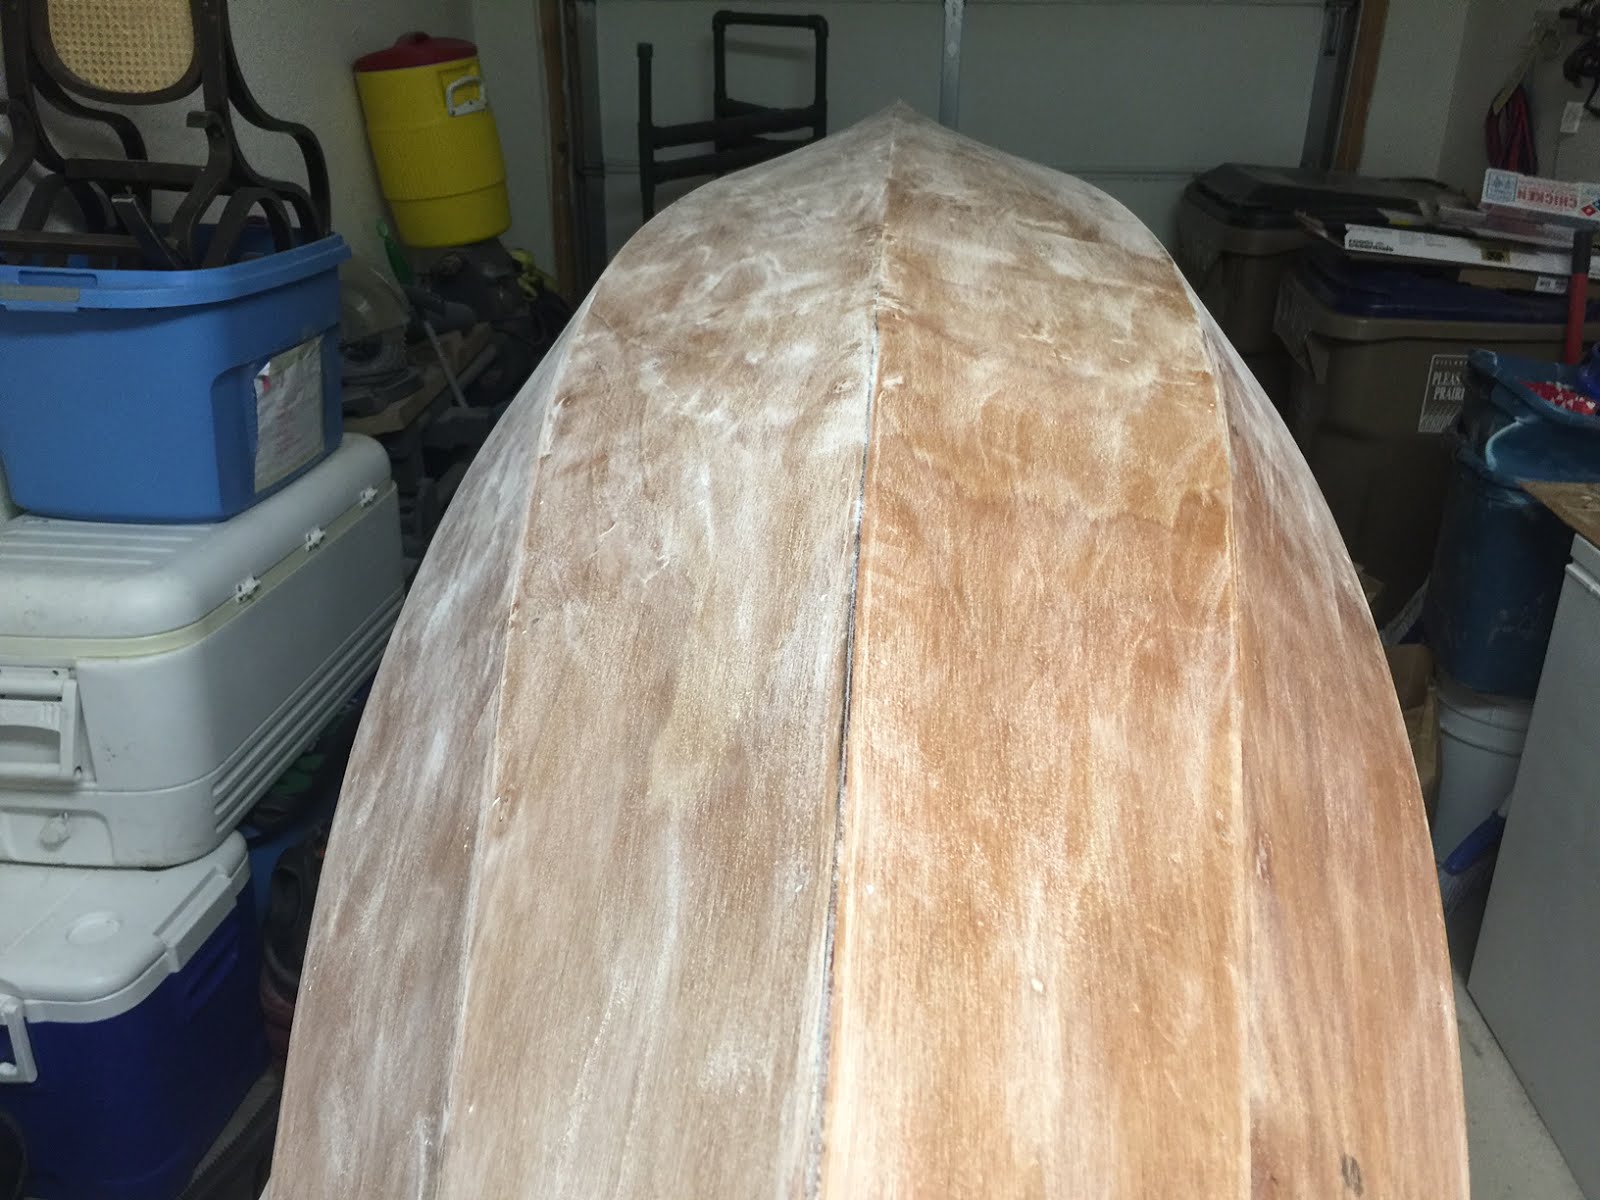
This may not look much different from post #28, but it is. I have gone back and perfected individual spots with finer sand paper. The seams and corners are all shaped beautifully and everything is soooo smooth. I think I want to make the keel seam a little rounder at the stern. The angle of the camera makes the lines look wonky but I guarantee you they true and fair. I am not sanding in a hurry at all. Probably spending 3 extra days sanding to get everything just so, rather than blast through it in one shot. Not that it has to be a museum piece, I just really enjoy the transformation it undergoes as sanding progresses and things get just right. I find that taking a day and coming back to it lets me see things I missed before.  Also sanded the cockpit coaming (the hoop that goes around the opening where you sit down).  Little did I know that while I was sanding with my right hand, my left hand, holding the hoop, was bleeding all over the place.  Every time I gripped the hoop in a different spot I was putting new blood stains on my previous work.  Took me a couple laps around the stupid thing till I figured out my thumb was to blame!  I couldn't see the cut cuz it was full of sawdust!