Saturday, February 27, 2016

40. She's Done!

It took 40 posts to this blog but she is done! Well the sanding finally got done for real and the final coat of epoxy has been applied. The finish is super nice and I am very happy with it. Once the epoxy cures this baby is ready for water! Of course she will need varnish too. But that's just another step.

39. Final Sanding - Deck

Final sanding of the deck has been completed. This is one of those steps where you think you are done but then when you look again there is a little more. A few more spots... I have also attached the hooks to the underside of the hatch cover and the blocks inside the hatch to anchor the bungee cord.

Thursday, February 11, 2016

38. Construction Finished

Tonight the clamps came off the rim and it received its outer epoxy coat. This marks the completion of construction! All that is left is finish sanding and varnish. Started on December 17th working nights and weekends. With 2 full weeks off during that time! It doesn't seem real, maybe because I have a lot of sanding ahead. But nonetheless, I think by this coming Monday I will have it all done

Tuesday, February 9, 2016

37. Rim Attached

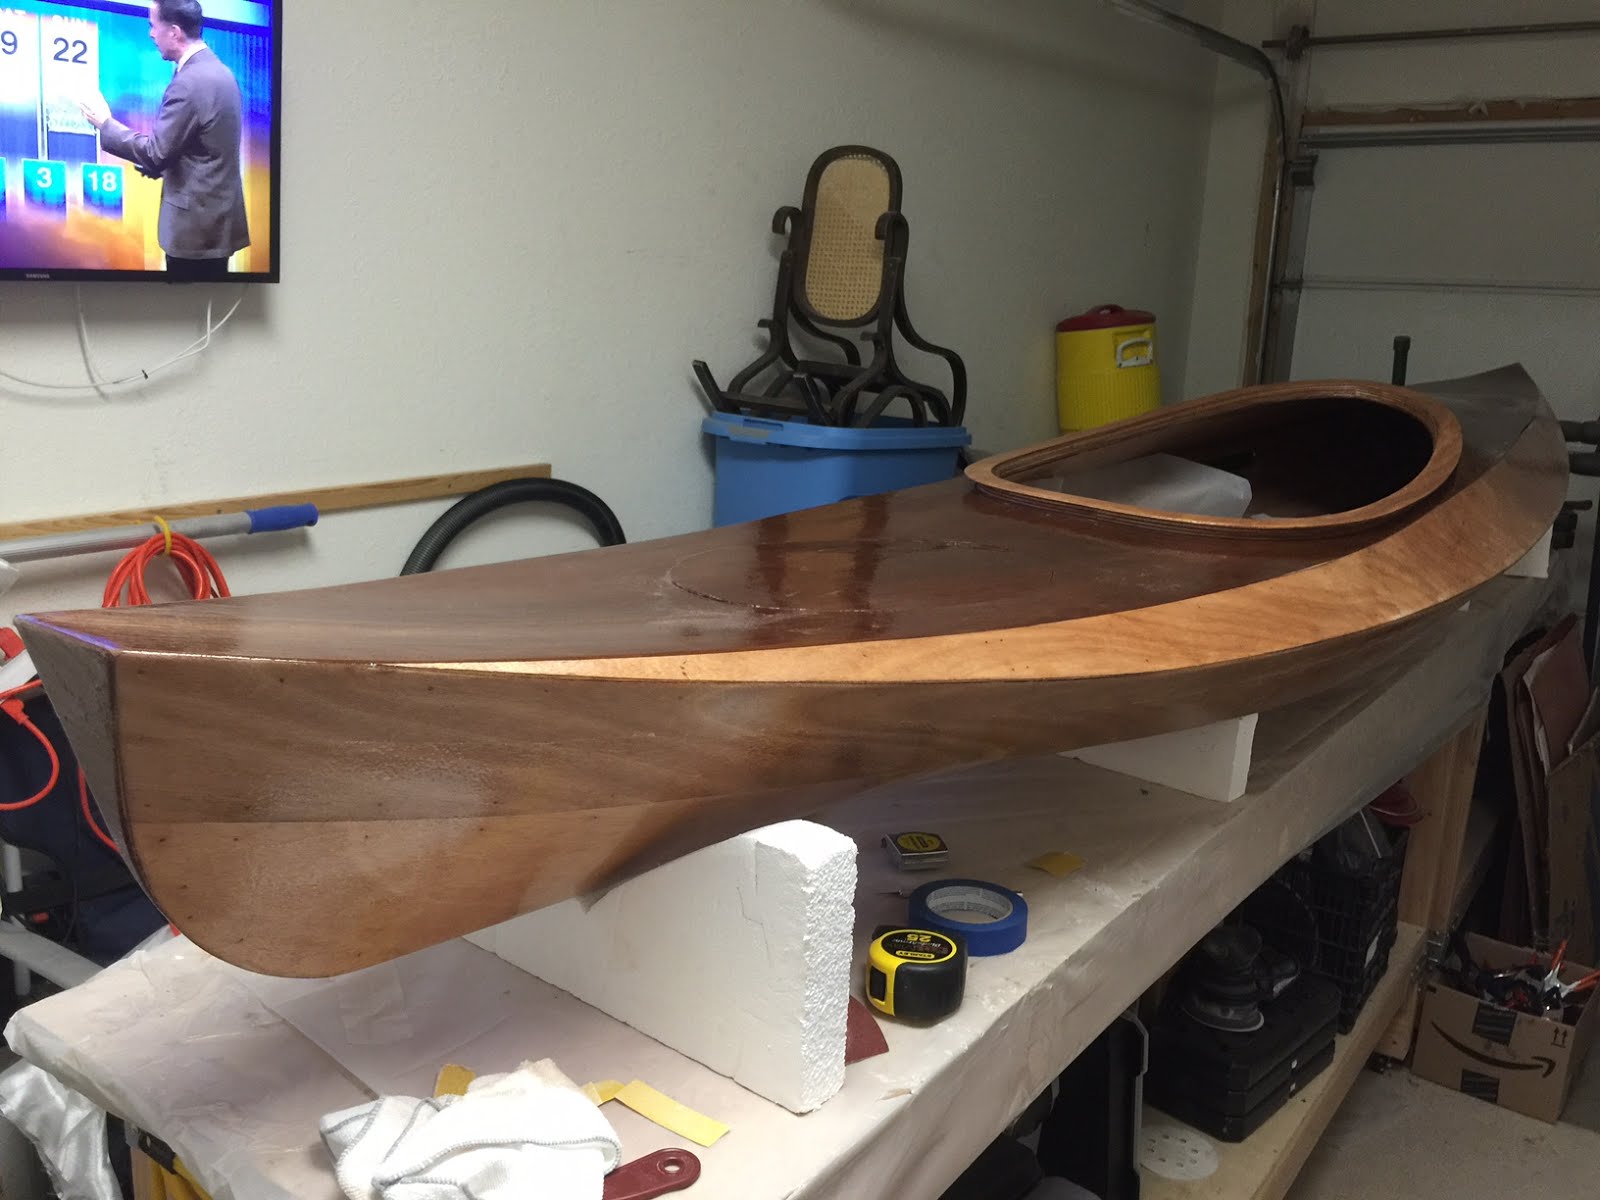
This step represents the near finish of the kayak. The cockpit rim has been glued on and clamped in place. I wish I had about 6 more clamps (not kidding). I will leave the clamps in place for at least 48 hours. As of tonight the entire kayak is down to only 2 pieces, the boat and the rear hatch cover. All of the pieces that make the kayak have been beveled, drilled, stitched, epoxied, filleted, taped, fiberglassed; sanded, rinse and repeat! There is a good deal of finish sanding to do before it receives its varnish. But then that does it! Don't worry there will be some more updates as I do the finish sanding and final varnish.

Saturday, February 6, 2016

36. Fiberglass Complete

Another major milestone. The fiberglass has been draped on the deck and smoothed. Next was application of epoxy. The challenge on this part was that a 2" section wraps over the edge and onto the underside of the hull. This makes sure the deck to hull joint is reinforced and that the overlapping fiberglass sections have plenty to grab. After it cures for 8 hours I will trim out the cockpit, hatch, and the 2" overlap along the hull. Just like the hull previously, the deck will get a couple more coats of epoxy to fill the weave of the fibers. Not a whole lot left to actually be done. Wow now that it's winding down I am sad. This has been a great project so far.

Friday, February 5, 2016

35. Deck Gets Epoxy

It's been a while since we have seen the kayak right side up. We let the hull cure fully before flipping over to work on the deck. Cleaned up edges of deck to hull seam and sanded here and there. Did some trimming of the back of the cockpit opening so that the curves would match the cockpit sill perfectly.  A bit unnerving to take a razor sharp Japanese saw to perfectly good boat!  Then the magic happened. Applied epoxy to the entire deck and tipped it out with a foam brush to remove bubbles. This was an amazing step to see become reality. Had no idea the Sapele Mahogany would be this beautiful.